Source Views Dropdown
Filter and organize your sources with custom views for better focus and productivity.
Video walkthrough
What It Does
Source Views let you create custom filters to show only specific sources in your Gemini Notebook interface. This is perfect for large notebooks with many sources.
How to Use
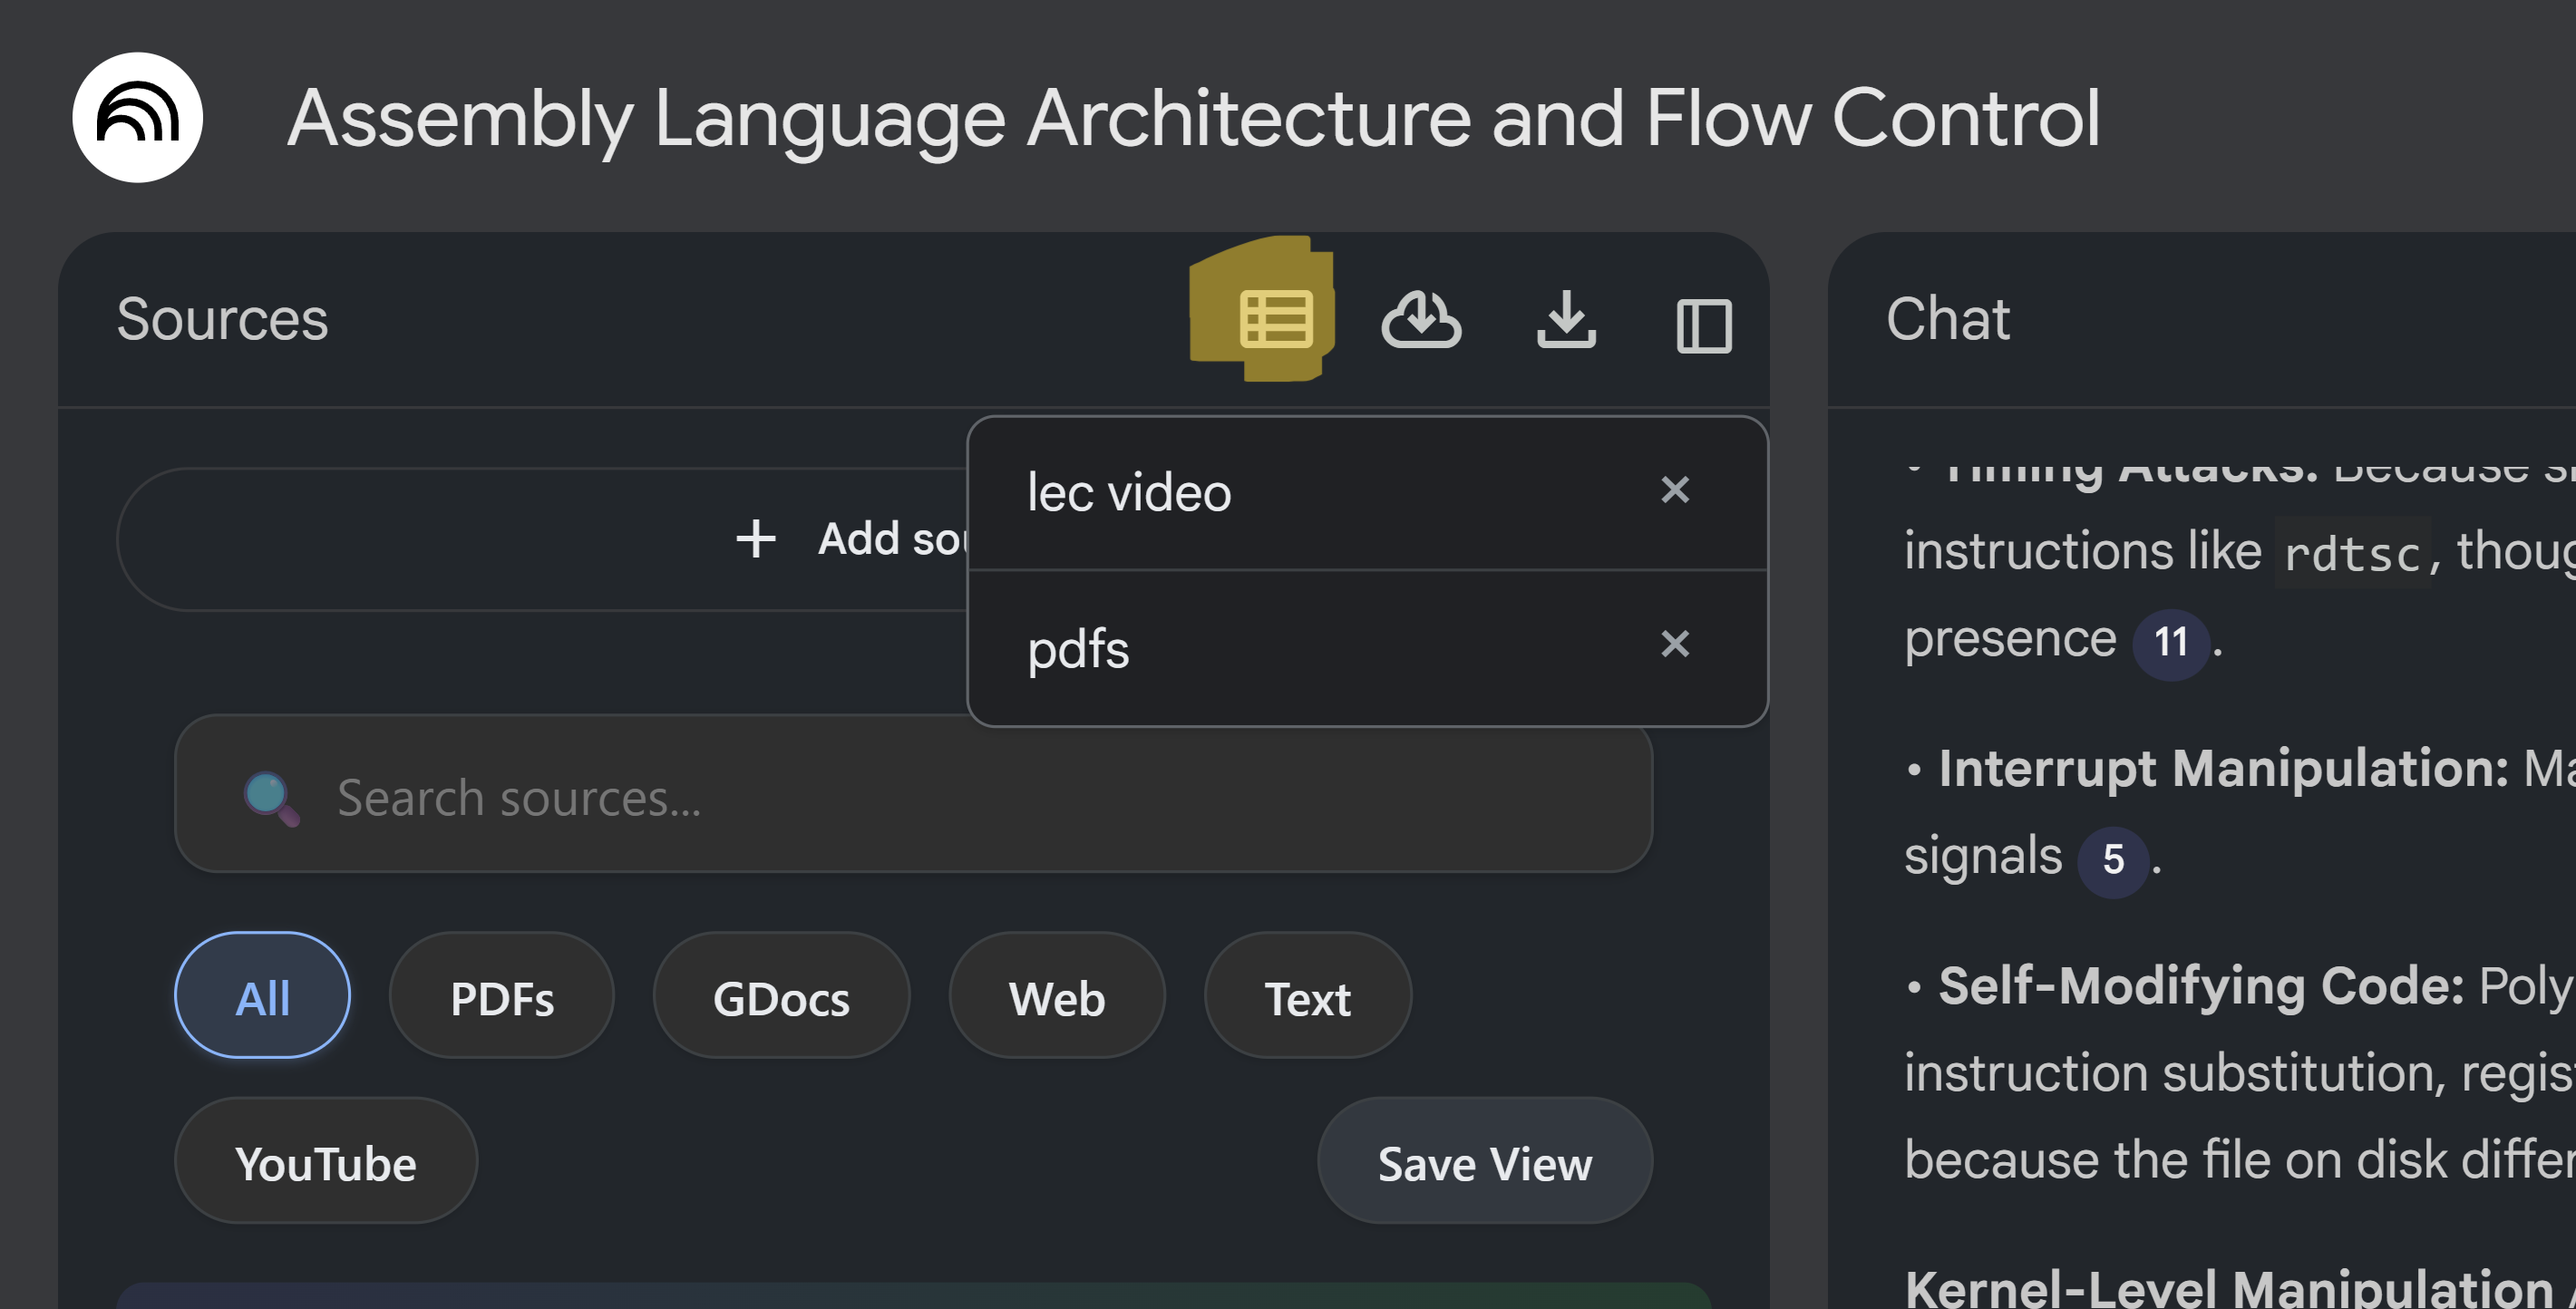
- Click the "Views" dropdown button in the source panel header
- Select "Create New View" or choose an existing view
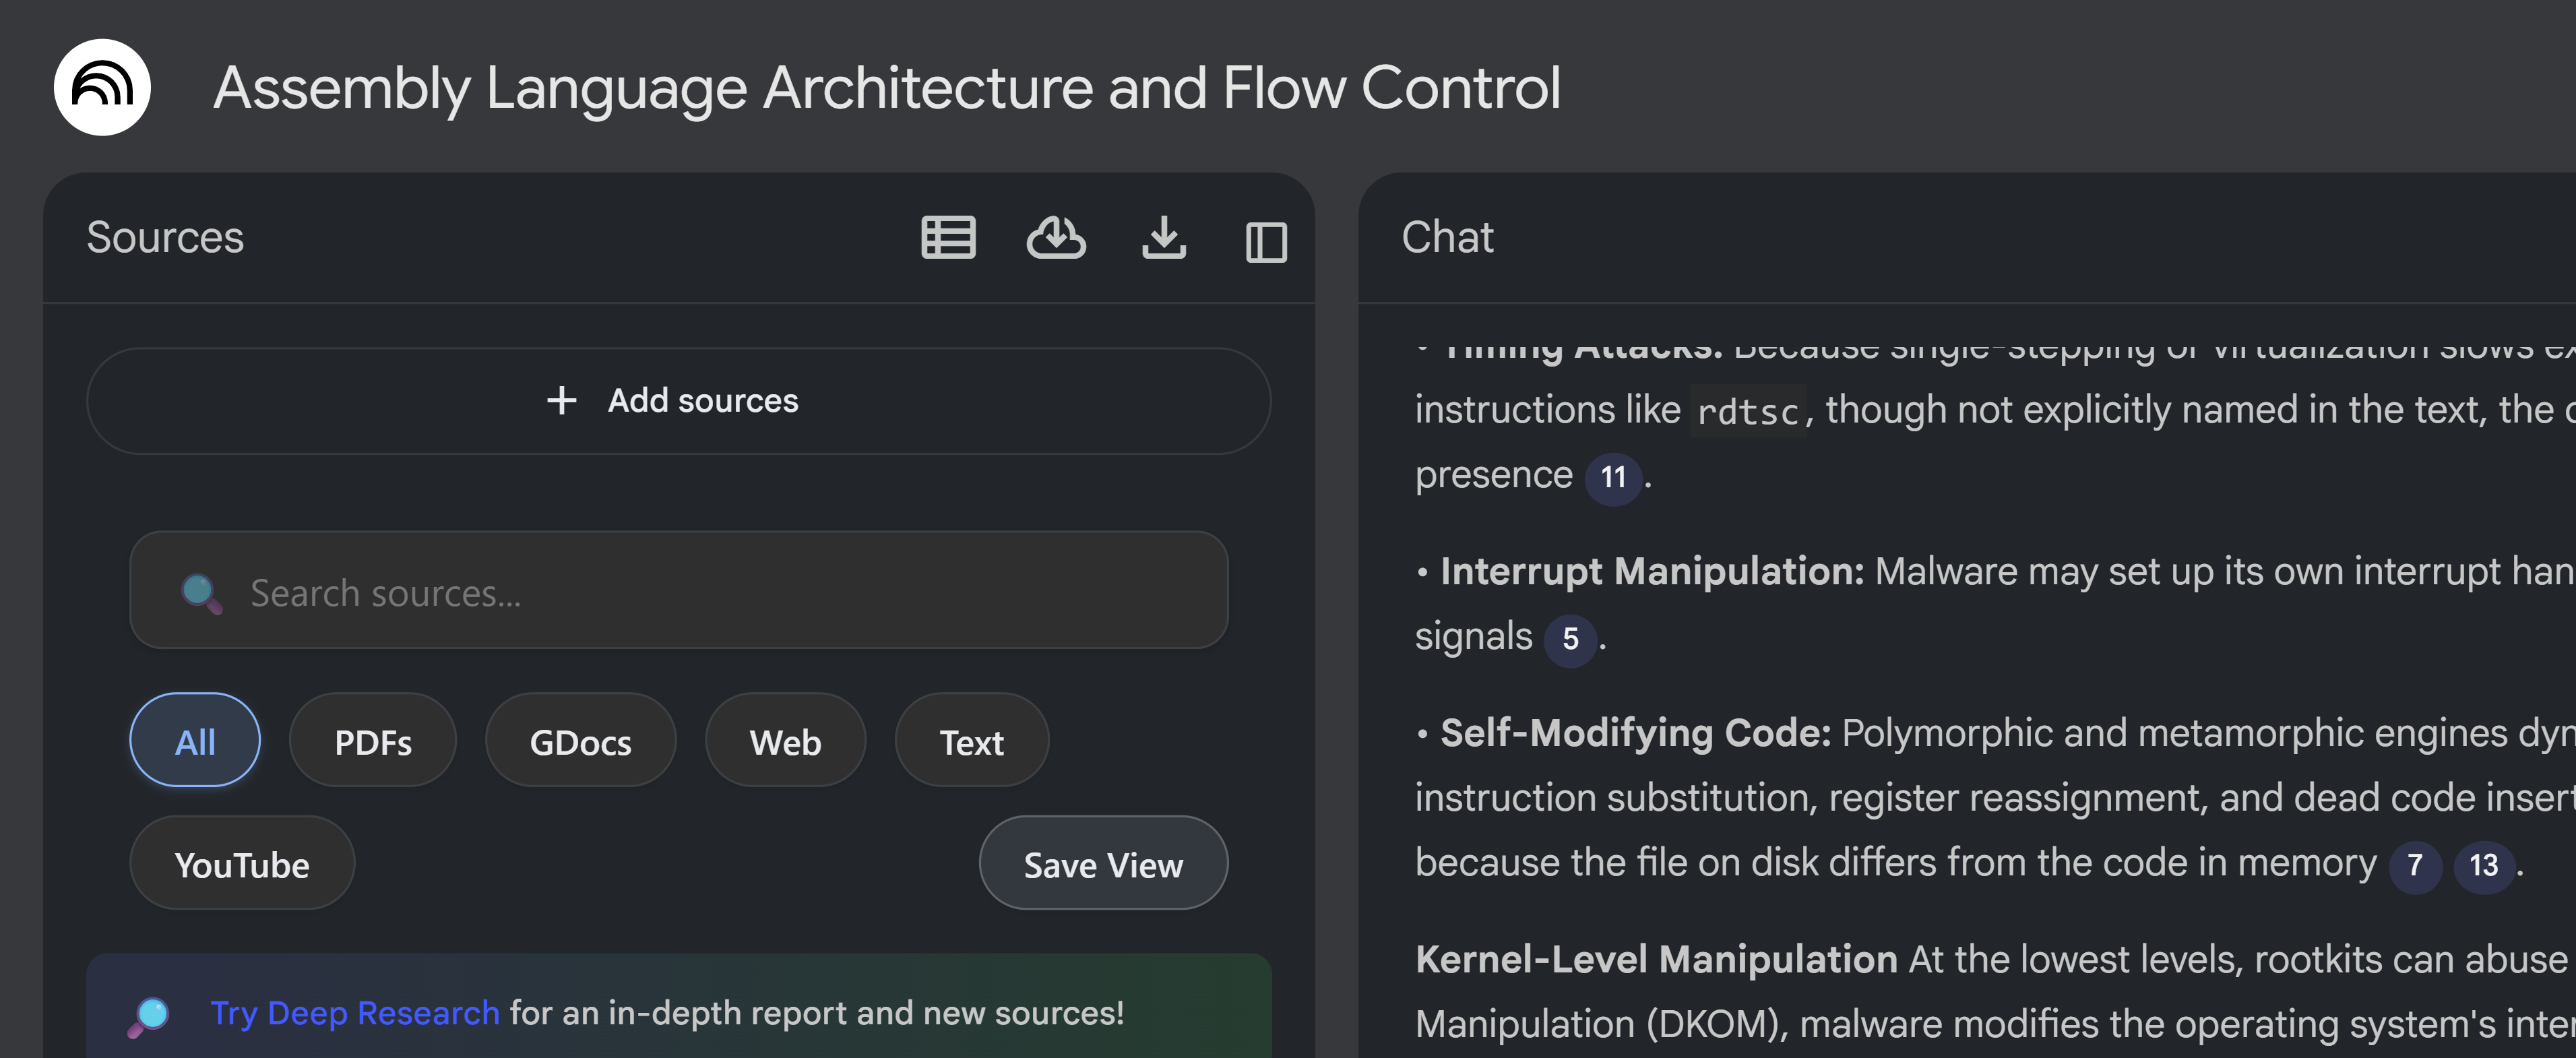
- Use the source search bar to filter sources
- Click "Save View" to save your current filter as a view
- Switch between views anytime from the dropdown
Available Filters
- All - Show all sources (default)
- PDFs - Filter to show only PDF documents
- GDocs - Filter to show only Google Docs
- Web - Filter to show only web sources
- Text - Filter to show text-based sources (descriptions, notes, text files)
- YouTube - Filter to show video sources
Use Cases
- By Topic - Create views for different research topics
- By Source Type - Filter by PDFs, websites, or Google Docs
- By Project - Organize sources for different projects
- By Priority - Create a view for your most important sources
Source View Limits
Source view limits work on a slot-based system:
- Basic: 5 source views per day
- Pro: Unlimited slots
Note: You have a fixed number of slots. When you delete a source view, that slot becomes available again. Views are synced across all your devices via Firestore.
Pro Tips
- Use descriptive names for your views
- Combine with source search for powerful filtering
- Views are saved per notebook
- You can have multiple views per notebook