You open NotebookLM. There are 67 notebooks. Half are named “Untitled notebook” or “Research March 2026.” You can’t remember what’s in most of them. You can’t search across them. You scroll, give up, and create notebook number 68. This is the natural end state of heavy NotebookLM use, and it happens faster than most people expect. The tool makes it so easy to create notebooks that the organizational debt accumulates before you notice it. This guide gives you a naming system, a tag architecture, a weekly maintenance habit, and the automation rules that keep your workspace under control no matter how many notebooks you create.
Key Takeaways
- NotebookLM has no built-in folder or search system, so organizational discipline must come from naming and tagging conventions
- A three-part naming format
[TYPE] Topic — Subtopicsolves 80% of navigation problems without any extra tools- A three-tier tag system (status, type, priority) makes filtering instantaneous and prevents notebooks from falling through the cracks
- Kortex adds collections, color-coded tags, and automation rules that enforce your organization system without manual upkeep
Why do most NotebookLM workspaces become unmanageable?
According to McKinsey research, knowledge workers spend nearly one full day per week — roughly 20% of working hours — searching for and gathering information. For NotebookLM users, this problem is amplified by a specific architectural constraint: every notebook is an isolated silo with no cross-notebook search, no folder system, and no way to query across multiple notebooks simultaneously.
The default workspace is a flat chronological list. Five notebooks is manageable. Twenty becomes workable with effort. Fifty or more, and finding a specific notebook becomes its own task each session. Most users reach this point after 3-6 months of regular use and then either abandon older notebooks or start rebuilding context from scratch.
The underlying problem is that NotebookLM was designed as a research tool, not a file management system. Its isolation architecture is intentional, not an oversight. Organization must come from the user through consistent naming, tagging, and periodic review. The good news: the system that works is simple and takes less than 10 minutes per week to maintain once set up.
What is the most effective naming convention for NotebookLM notebooks?
The single highest-impact change you can make is adopting a consistent naming format before you create any more notebooks. Good names do three things: they tell you the type of content at a glance, they identify the topic clearly, and they make it possible to find the notebook by partial string match even without a search function.
The format that works best across different use cases:
[TYPE] Topic — SubtopicType prefixes to use:
[BOOK]— a book you’re reading and annotating[PROJECT]— an active work or research project[COURSE]— a course, lecture series, or tutorial[CLIENT]— client-specific research or briefings[PERSONAL]— personal development, side projects[RESEARCH]— academic literature or primary sources
Examples:
[BOOK] The Innovator's Dilemma — Clayton Christensen[PROJECT] Product launch — Q2 2026 strategy[COURSE] Stanford ML — Week 3 to 6 notes[CLIENT] Acme Corp — due diligence review[RESEARCH] Climate policy — IPCC Sixth Assessment
The brackets create a visual sorting mechanism without requiring an actual folder system. When you scroll your notebook list, all your client notebooks cluster together alphabetically, all your book notebooks cluster together, and so on. The dash-separated subtopic means you can have multiple notebooks on the same topic without collision.
The most important rule: name the notebook when you create it, not later. “Untitled notebook” means you have to open the notebook to remember what’s inside it. A descriptive name means you know before you click.
How do you build a tag system that scales?
Tags in Kortex add a filtering layer on top of the naming system. Where names describe content, tags describe state. The distinction matters: a notebook about a client project might be named [CLIENT] Acme Corp — Q1 Review, but what you need to know right now is whether that notebook is active, archived, or waiting for review.
Use three tiers of tags, applied in combination:
Tier 1: Status tags (always apply exactly one)
Status tags answer “what stage is this in?” Apply one and only one to every notebook.
#active— you’re working in this notebook this week or this month#reference— the project is complete, but you’ll look things up in it occasionally#archive— the project is done and you’re unlikely to need it again
Tier 2: Type tags (apply one or two)
Type tags answer “what is this for?” They let you filter your entire workspace by category.
#research— academic papers, literature reviews, primary sources#client— client-specific work#personal— personal projects and learning#course— courses, tutorials, certifications#writing— content creation, articles, book drafts
Tier 3: Priority tags (apply when relevant)
Priority tags answer “is there anything urgent about this?”
#urgent— deadline approaching or high-priority request#review— waiting for your review before next step#shared— shared with a colleague or client#stale— (assigned by automation) not opened in 30 days
Example combinations:
[CLIENT] Acme Corp — due diligencetagged#active #client #urgent[RESEARCH] Climate policy — IPCCtagged#reference #research[COURSE] Stanford ML — Week 3-6tagged#archive #course
With this system, filtering to “all active client notebooks with an urgent deadline” is three tag clicks, not a scroll through 60 entries.
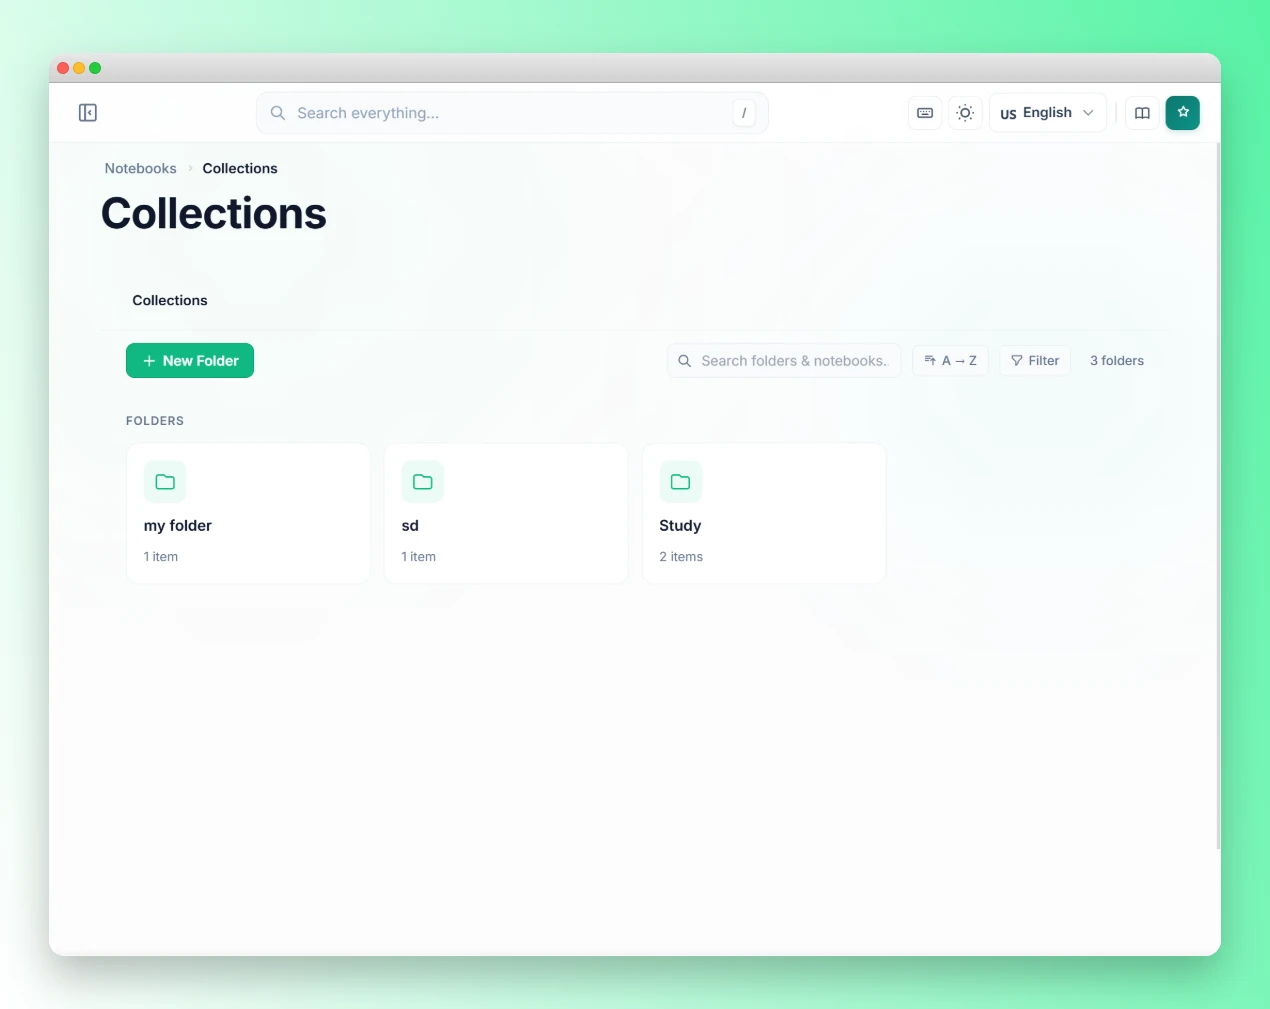
How should you structure your NotebookLM collections?
Kortex adds collections to NotebookLM, which function as folders: named groups you assign notebooks to. Collections give you a second organizational axis (type) alongside the tag system (state). A notebook belongs to one collection.
The collection structure that fits most users:
- Active Projects — notebooks you’re working in right now
- Client Work — all client-specific notebooks regardless of status
- Reference Library — completed research you’ll look up again
- Courses — learning materials from courses and tutorials
- Archive — completed projects ready to be exported and cleared
Keep the collection count low. Five to eight collections is enough for most users. The temptation is to create a new collection for every project, which recreates the flat-list problem you’re trying to solve. Use tags to differentiate within collections, not collections themselves.
For large-scale users managing 50+ active notebooks, the Kortex vs NotebookLM comparison covers how Smart Search across collections and tags reduces navigation time compared to the default flat list.
What does an effective weekly review look like?
A 10-minute weekly review keeps the organizational system accurate. Without it, notebooks drift out of sync with their tags and collections as projects change state.
Run this every Monday or Friday, whichever fits your schedule:
-
Scan your
#activenotebooks. Any notebook you haven’t opened in 2 weeks should move to#reference. If you’re still working on it but haven’t opened it recently, it means the project is paused, not active. -
Check your
#referencenotebooks. Any notebook that’s been in reference status for more than 3 months without being opened should move to#archive. Reference is for things you actually look up. Archive is for things you’re preserving but won’t actively use. -
Process your
#archive. Export any archived notebook you might want outside NotebookLM, then decide whether to keep it or delete it. Exporting first prevents accidental data loss. -
Review
#stalenotebooks. If you’ve configured the stale-notebook automation (covered below), some notebooks will have auto-tagged themselves. Review each one and either remove the tag (if it’s still relevant) or move it to archive.
Following this process takes 10 minutes when done weekly and 45 minutes when you let it slip for a month. The review compounds: a clean workspace this week means the next review is faster.
How does Kortex automate the organization workflow?
The manual weekly review works, but several parts of it can be fully automated. The three rules worth setting up first:
Auto-file by client tag. Configure: “Any notebook tagged #client moves to the Client Work collection.” Now you never manually file client notebooks. Tag it #client when you create it and it appears in the right collection automatically. This pattern works for any tag-collection pair.
The stale notebook detector. Configure: “Any notebook not opened in 30 days adds tag #stale.” This runs in the background continuously. When you open Kortex, any notebook that’s gone untouched for a month is already flagged. You review them and decide: keep active, move to reference, or archive.
The archive export trigger. Configure: “Any notebook tagged #archive exports as PDF to your downloads folder.” This ensures you have a local copy before you decide whether to delete the notebook from NotebookLM. No data loss risk.
For more complex chains (like auto-generating a Briefing Doc when a notebook is created, then filing it by type tag), the complete automation workflows guide has 10 patterns with exact trigger-action setups for researchers, content creators, and knowledge workers. If you pair automation with a consistent prompting approach, the 30 NotebookLM prompt templates covers a naming and category structure that maps directly to the collection system above.
What are the most common organization mistakes?
Most NotebookLM organization failures trace back to two root causes: over-engineering the collection structure and skipping the naming step at notebook creation. Keep your collection count under eight and name every notebook descriptively the moment you create it — no exceptions. These two habits prevent the majority of long-term workspace degradation.
Creating collections for every project. Collections should be stable categories, not project-specific folders. If you create a collection called “Acme Corp Q1 Review,” you’ll have 40 collections within six months. Use tags for project-specific labels, not collections.
Skipping the naming step on creation. The notebook name “Research” is useless at 50 notebooks. “Untitled notebook” is worse. Name every notebook descriptively at creation. It takes 15 seconds. The cost of skipping it is paid every time you open your workspace.
Using only type tags without status tags. Knowing that a notebook is #research is less useful than knowing it’s #archive #research. The status tag is what tells you whether to open the notebook or skip past it.
Never deleting anything. NotebookLM notebooks don’t cost space in any meaningful sense, but an endlessly growing workspace degrades navigation speed and attention. An annual deletion of old archives keeps the workspace usable.
How do you recover from an already-messy workspace?
If you’re starting this system with 60 disorganized notebooks rather than 0, here’s a recovery approach that takes about an hour. Once it’s tidy, our guides to the best NotebookLM use cases and 8 expert tips for using NotebookLM well help you get more out of each notebook you keep.
Phase 1: Rename (20 minutes). Sort your notebooks by creation date, oldest to newest. Rename each one to the [TYPE] Topic — Subtopic format. For any notebook where you genuinely can’t remember the content, open it briefly, read the first Briefing Doc or source title, and name it accordingly.
Phase 2: Tag (20 minutes). Apply at minimum a Tier 1 status tag to every notebook. Most will be #archive. Some will be #reference. A small number will be #active. Don’t overthink it.
Phase 3: File into collections (10 minutes). Assign each notebook to a collection. Start with just three: Active, Reference, Archive. You can add more collections later once you’ve confirmed the system works for you.
Phase 4: Export and delete archives (10 minutes). Export the #archive notebooks you want to keep (Kortex exports as PDF or Markdown with one click), then delete the ones you know you’ll never open again. Your first cleanup will probably reduce notebook count by 30-40%.
After the recovery, switch to the getting started guide to configure the automation rules that prevent the mess from rebuilding.
Frequently asked questions
Does this system work without Kortex?
Partially. The naming convention and manual tagging system work with just NotebookLM’s built-in interface. What you lose without Kortex is collections (folders), automated stale detection, and one-click export for the weekly archive cleanup. The manual system is genuinely useful; Kortex makes it automatic.
What’s the maximum number of notebooks before organization breaks down?
The flat list in default NotebookLM becomes painful around 15-20 notebooks for most users. With the naming convention, it extends to 30-40. With Kortex collections and filtering, most users manage 50-100 comfortably. Beyond that, the 50-source-per-notebook limit means you’re already splitting research across notebooks, which the collection system is designed to handle.
Can I search inside notebooks from the organization view?
No. Kortex’s Smart Search finds notebooks by name, tag, and collection. It doesn’t search the content inside notebooks. Cross-notebook content search is an architectural limitation of NotebookLM itself that isn’t accessible to extensions.
How often should I do the weekly review?
Weekly is ideal. Monthly works if you’re a lighter user. The longer you go between reviews, the more time the review takes. Fifteen minutes weekly beats two hours monthly for the same outcome.
Does Kortex delete notebooks automatically?
No. Kortex can flag and export notebooks, but deletion is always a manual step you confirm. The stale automation adds a tag; it doesn’t remove anything.
Install Kortex free to add collections, automated stale detection, and one-click export to your NotebookLM workspace. Install Kortex →